
On the other hand, if the painting starts to look mushy, I can redefine some edges and still keep them soft as they blend into the surrounding paint.
If I have a limited time to paint I generally do not start a large section of water. Hours and hours of uninterrupted painting works best as I think through my water passages.
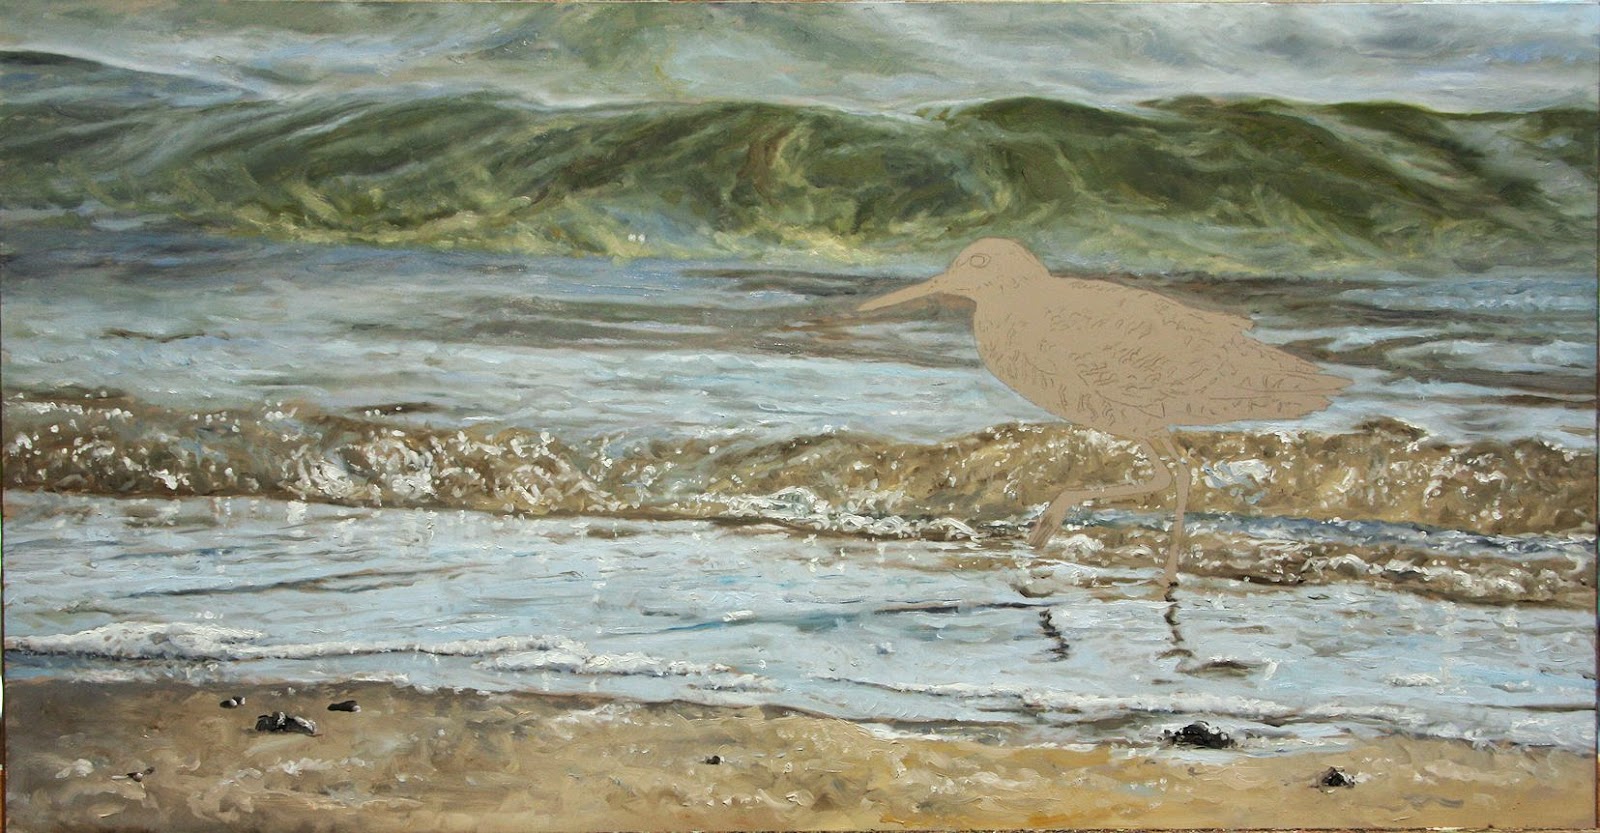
From the last post, I have brightened the sand reflections in the oncoming wave. The next closer section is also more defined and brighter.
A tricky area is the middle wave. I started with raw umber, some yellow ochre, and naples yellow and titanium white. As is usually the case when I am unsure of the color, my first go around was too light. Adding more raw sienna and a little van dyke brown added more depth. Sometimes I wait to add highlights until the section is done. Here, I found it helpful to put in the highlights as I painted. They gave structure to the wave.
For the closest water section I used cerulean blue with some hints of manganese blue. These warm blues helped bring this section of water closer.
The foam. I started with the dark forward color, then added the lightest top section. Mixing a middle tone, I painted it in-between the two. Seems to work.
No comments:
Post a Comment